Lots of new items made for my Etsy shop please check them out.
https://www.etsy.com/shop/DogMaCreations?ref=hdr_shop_menu
Question to any of you that actually read my posts... LOL.. would you like to see a tutorial on how to make some small potted plants? If so, please type yes in the comment section below.
Thank you!
Wednesday, November 16, 2016
Saturday, September 17, 2016
Sale
Hello all, just a note to let you know that there is still a couple weeks left to take advantage of my Etsy shop sale. $15 off your order of $40 or more. Just click on any of the posted pics and it will take you to the shop. Pick out your goodies and use code ST2016 at checkout, it's that easy. Coupon code good until September 30, 2016.
Saturday, August 20, 2016
Saturday, August 6, 2016
Having fun building
Have 4 of these kits. Put 3 together to sell. SO much fun making them, each one different. Gonna keep the last one for me. Not sure what style I will make it yet.


Wednesday, July 27, 2016
Been out for a bit for surgery
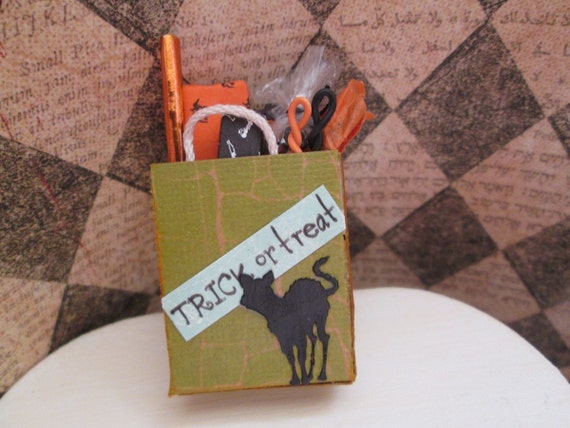
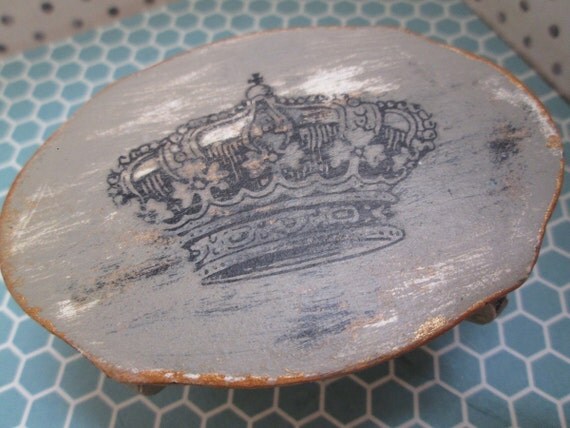
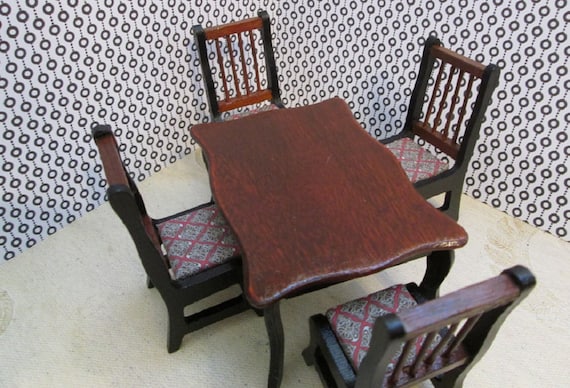
Just now in therapy for a thumb joint (carpal/metalcarpal) replacement. Working on my mini passion has been a bit difficult with one hand. Now with all the pins out and therapy, the hand is SLOWLY working again, so I am doing what I am able. I did get to re-finish a few vintage pieces lately. I think they came out excellent. Let me know what you think.
https://www.etsy.com/listing/454474446/ooak-112-scale-dollhouse-shabby-chic?ref=shop_home_active_5
https://www.etsy.com/listing/453652844/ooak-112-dollhouse-table-and-chair-suite?ref=shop_home_active_6
https://www.etsy.com/listing/454474446/ooak-112-scale-dollhouse-shabby-chic?ref=shop_home_active_5
https://www.etsy.com/listing/453652844/ooak-112-dollhouse-table-and-chair-suite?ref=shop_home_active_6
Friday, July 8, 2016
Wednesday, June 29, 2016
While the arm heals... SALE!!
https://www.etsy.com/…/…/ooak-112-scale-dollhouse-miniature…
Just added MORE items to my "ON SALE" section and for a LIMITED TIME ONLY use promo code FREESHIP2016 at checkout and receive FREE US shipping on all orders of $20 and up, INCLUDING SALE ITEMS. Offer expires 7/17/2016
Just added MORE items to my "ON SALE" section and for a LIMITED TIME ONLY use promo code FREESHIP2016 at checkout and receive FREE US shipping on all orders of $20 and up, INCLUDING SALE ITEMS. Offer expires 7/17/2016
Monday, June 27, 2016
a pin down
just had carpal/metacarpal joint replacement on my left hand. Same surgery I had on my right hand a year and a half ago. I must say since it is on my non-dominant hand it has been easier that way, however, the joint was pretty messed up and I have 2 pins temporarily holding it together. That is causing me a lot of pain. So for now my mini making is mostly on hold. I will still continue to post about minis when I am able.
Sunday, June 19, 2016
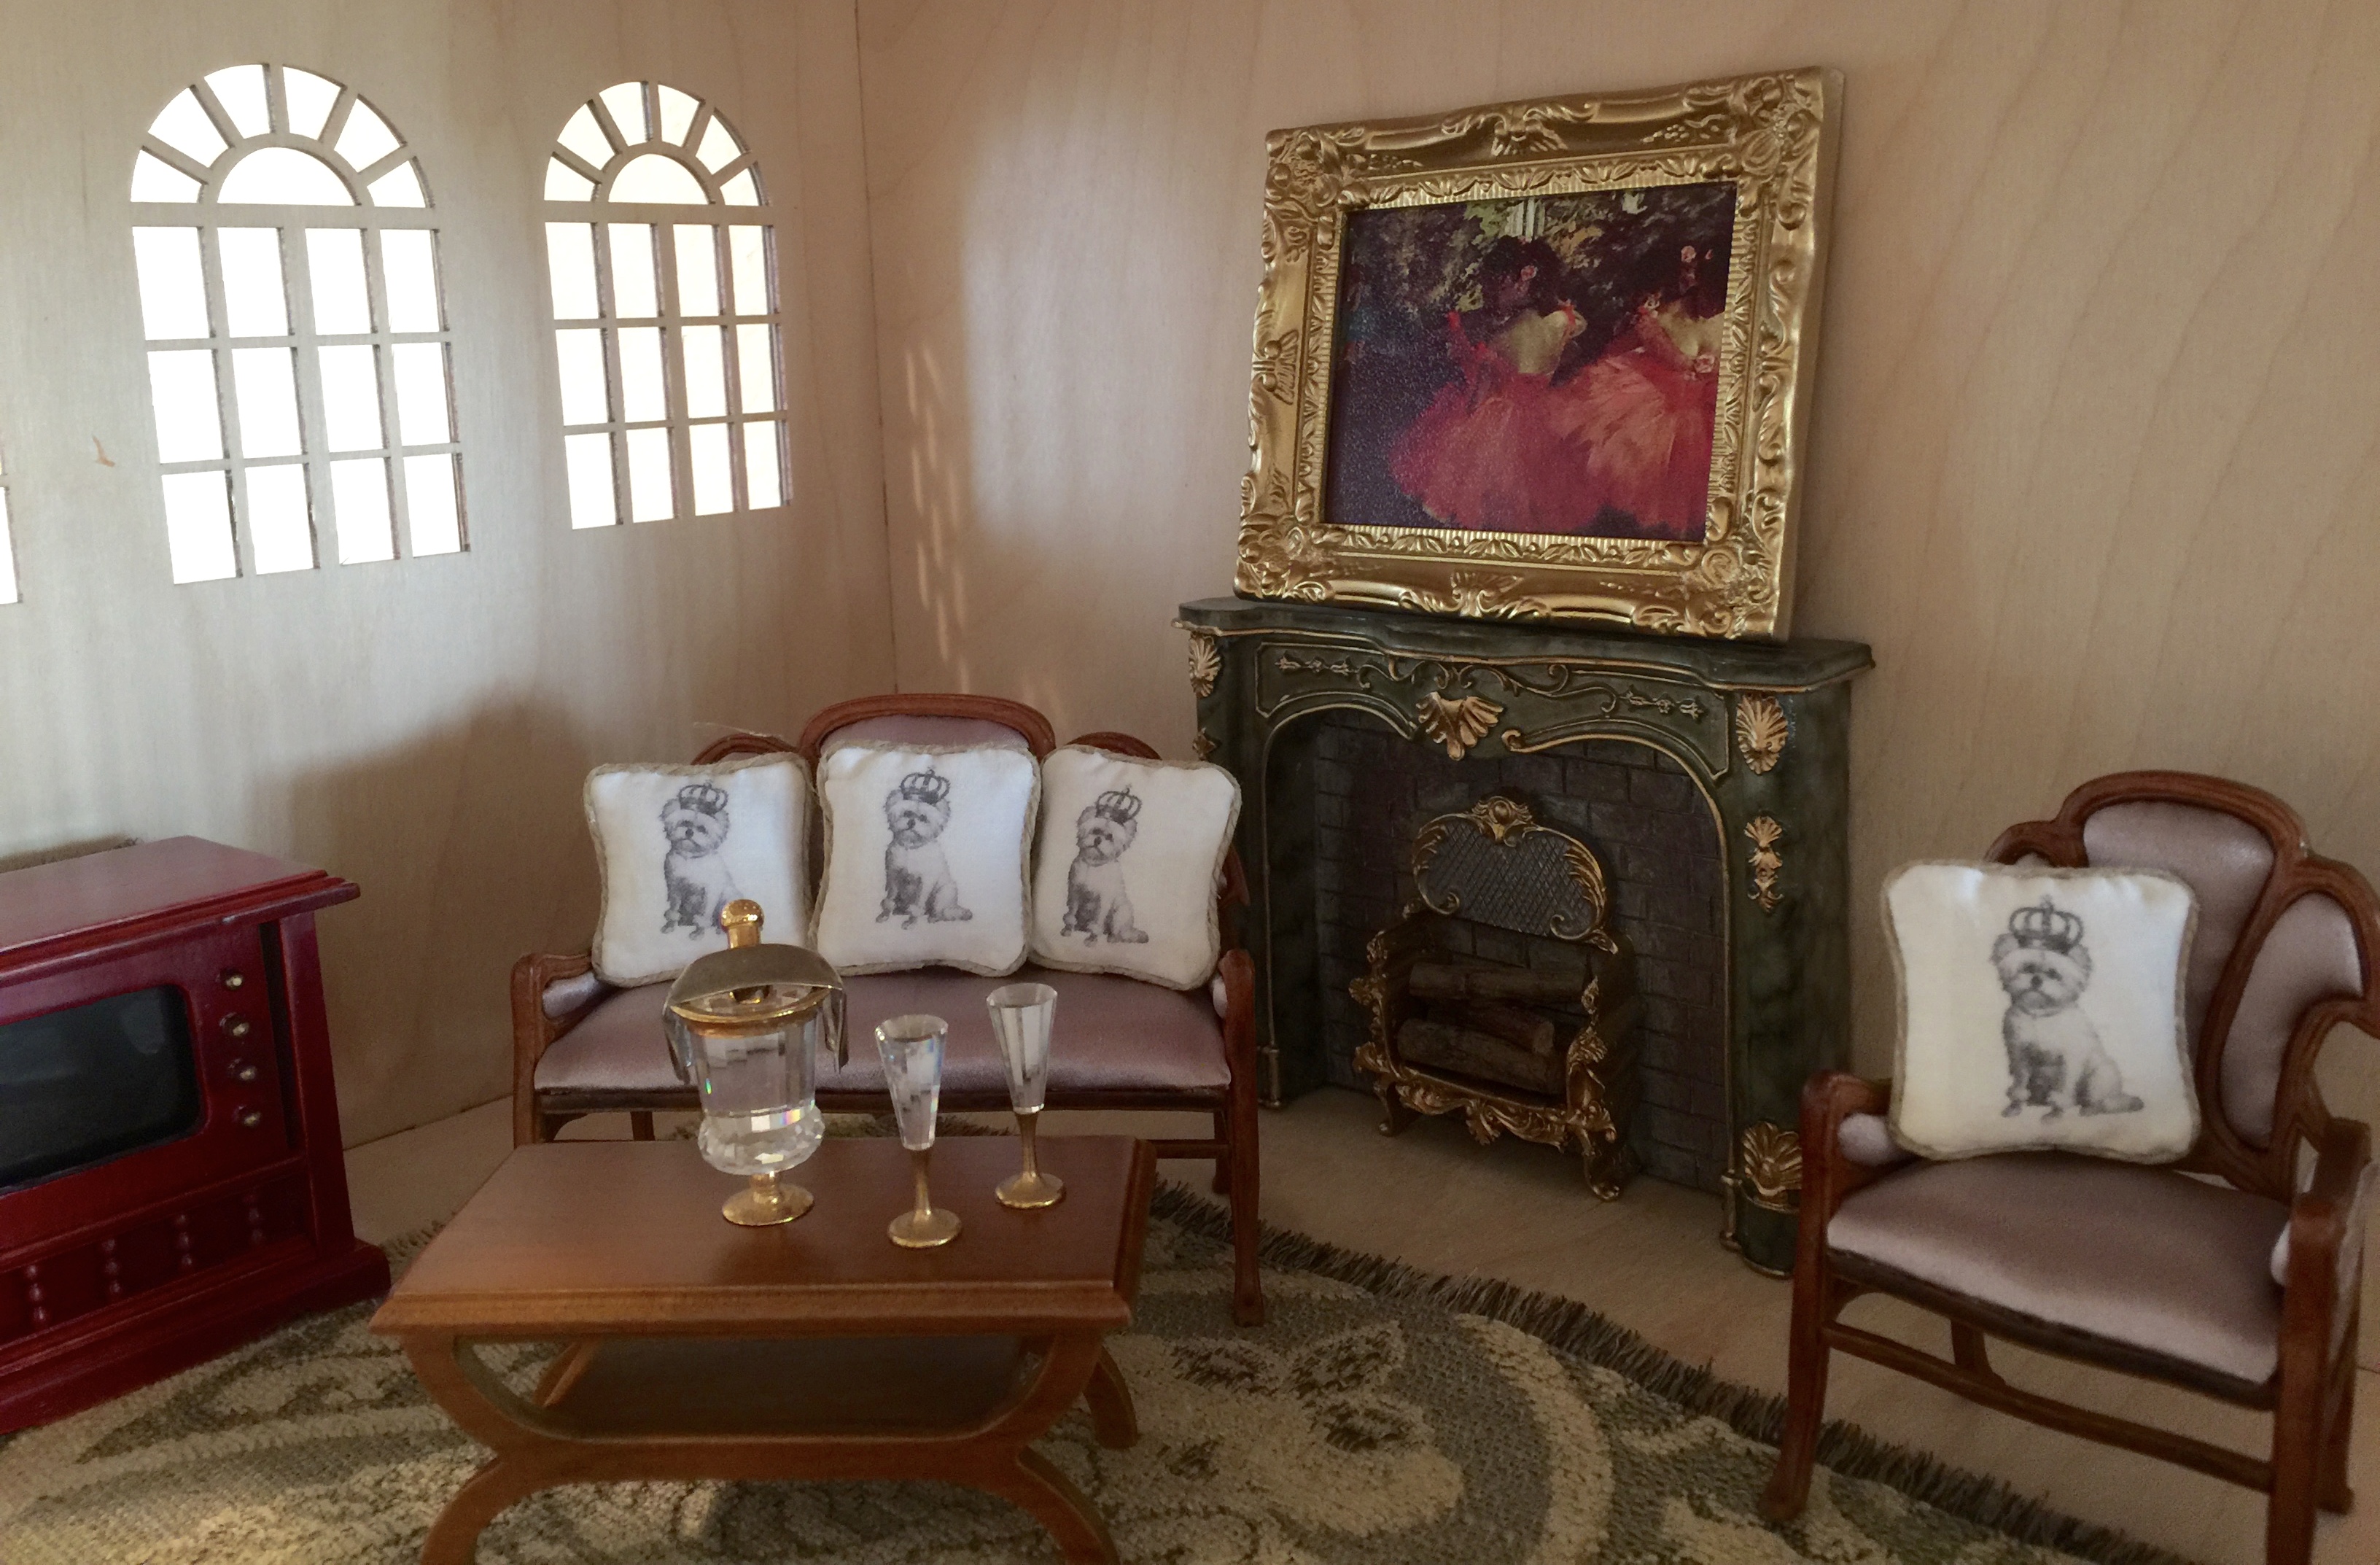
A special order
One of my ETSY buyers has sent me a photo of a set of pillows I made her on special order. What a wonderful room for them to live in!
Friday, June 10, 2016
Very Excited
I am busily making little holiday items that are going to be included in a monthly miniature subscription service. So excited to be a part of it. Stay tuned, I will be posting more about this in the upcoming months. Please subscribe to my blog and receive updates automatically.
Tuesday, June 7, 2016

Thursday, June 2, 2016

Wednesday, June 1, 2016
1:12 scale Dollhouse non-working table lamp tutorial
Welcome to my first blog post on my mini page! Today, I am posting a picture tutorial of a very simple mini-make. This non-working table lamp is inexpensive and easy to make.
 First, you will need the following items:
Beads - you will need several small ones and one focal bead. They can all be different but you will need to find a combination that fits.
Plastic caps - for the lamp shade, here I show 2 toothpaste caps and a silver cap off a hair color tube.
Metal Bead caps, I show several here, just under the caps. You will need one for the base of the lamp (shown in next picture)
Needle nose pliers or tweezers - these are used to put beads on pin when you don't want to touch the glue, also to pull the pin fully through the cap.
Glue - Here I use E6000 but any rubber type permanent glue works best. You can use a tacky glue, but it takes longer to set and you may have a difficult time keeping the beads in place, but it is an option.
Heavy duty metal pins. These can have the glass balls on the ends but you will have to break them off, if those are the only ones you can find. These are HEAVY DUTY pins, not regular dress making pins. Quilting pins, etc.. They should be approx. 1 1/2 inches or longer. Smaller is not good, they don't have enough height to look right.

Here is the set up I chose. I pre-fit everything to be sure I like the look before I glue anything.

 I use the pin to poke the hole into the cap, going all the way through. Try your best to find the center and then punch the pin through as straight as you can. Be careful to punch into something other than your finger ;o)

 Place the first bead on, you can omit this step if your bead cap base is shallow. The one I used here, is pretty deep and I like to have the additional bead inside of it for stability.


Beads - you will need several small ones and one focal bead. They can all be different but you will need to find a combination that fits.
Plastic caps - for the lamp shade, here I show 2 toothpaste caps and a silver cap off a hair color tube.
Metal Bead caps, I show several here, just under the caps. You will need one for the base of the lamp (shown in next picture)
Needle nose pliers or tweezers - these are used to put beads on pin when you don't want to touch the glue, also to pull the pin fully through the cap.
Glue - Here I use E6000 but any rubber type permanent glue works best. You can use a tacky glue, but it takes longer to set and you may have a difficult time keeping the beads in place, but it is an option.
Heavy duty metal pins. These can have the glass balls on the ends but you will have to break them off, if those are the only ones you can find. These are HEAVY DUTY pins, not regular dress making pins. Quilting pins, etc.. They should be approx. 1 1/2 inches or longer. Smaller is not good, they don't have enough height to look right.

Here is the set up I chose. I pre-fit everything to be sure I like the look before I glue anything.


Next, place a drop of glue above the first bead, or on top of the flat part of the pin, if you are using a shallow base.


Place your metal bead cap on next. This is your lamp base.
I like to dip the pin directly into the glue to get it good and loaded for the next steps.


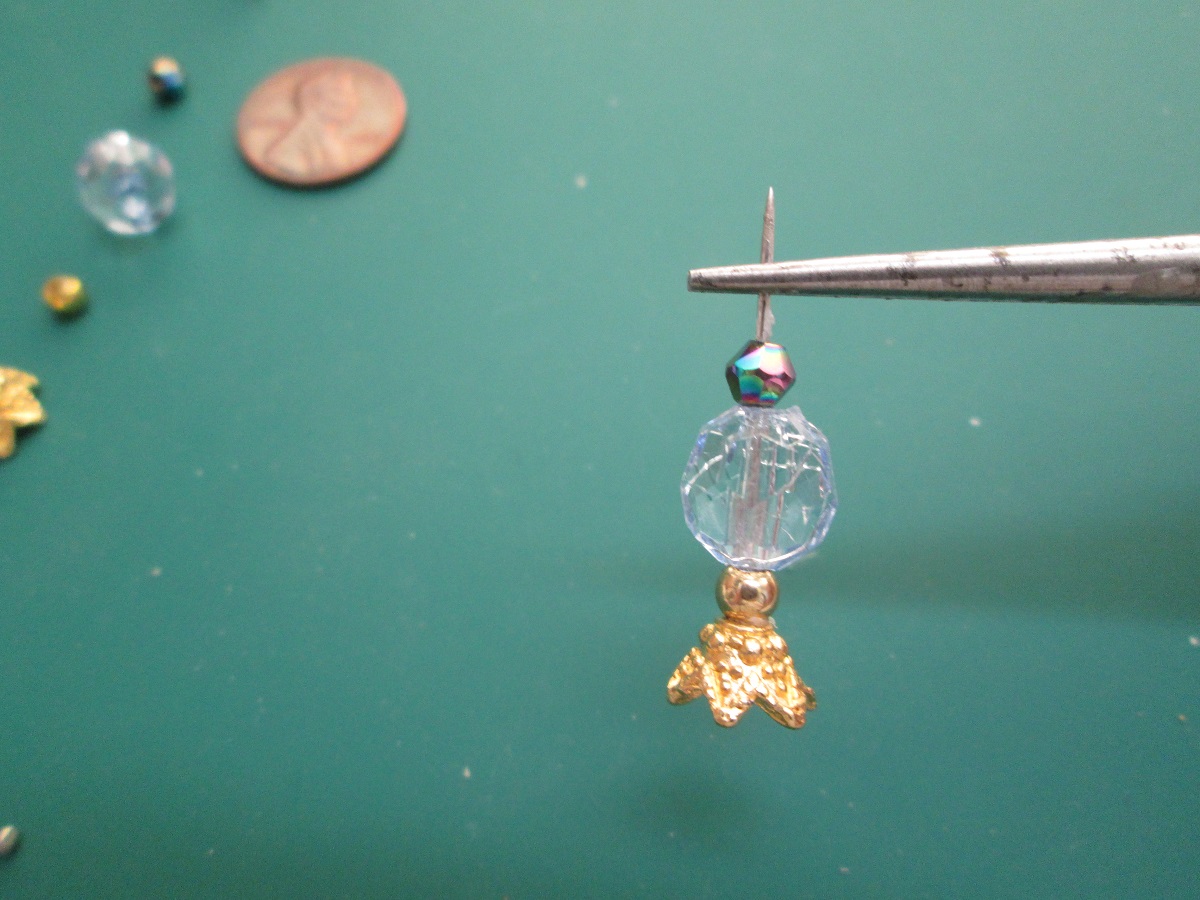

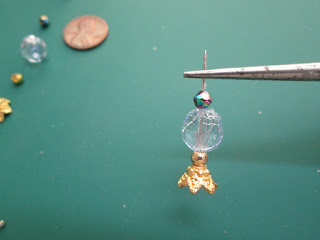
Next you will place all of your beads on, in sequence. You should have approximately 1/4 inch left of pin, at the top. This will go through your cap and you will have some sticking out the top.


Place cap on top and pull through, with pliers or tweezers until you can't pull any more.
Place a dot of glue on the tip of the pin.
In the final step you will put your last bead. This is the finial of your lamp. Here I have used an oblong oval bead, but you can use a round or square bead, any kind you like as long as it covers the sharp end of the pin sufficiently. Just ensure that everything is tight and straight. This is the time to fix anything out of alignment, while your glue is still pliable. Let dry over night.
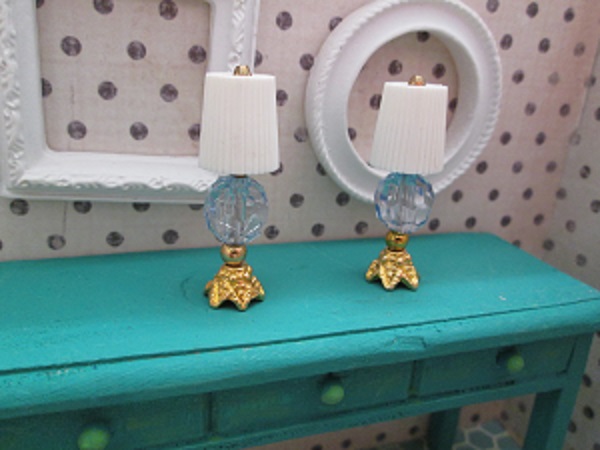
Finished lamp with it's sibling! They are easy-peasy and inexpensive. They look great anywhere too!
Thank you for looking and I would love to hear from you or see pictures if you decide to give it a go.
Subscribe to:
Posts (Atom)